 Renoox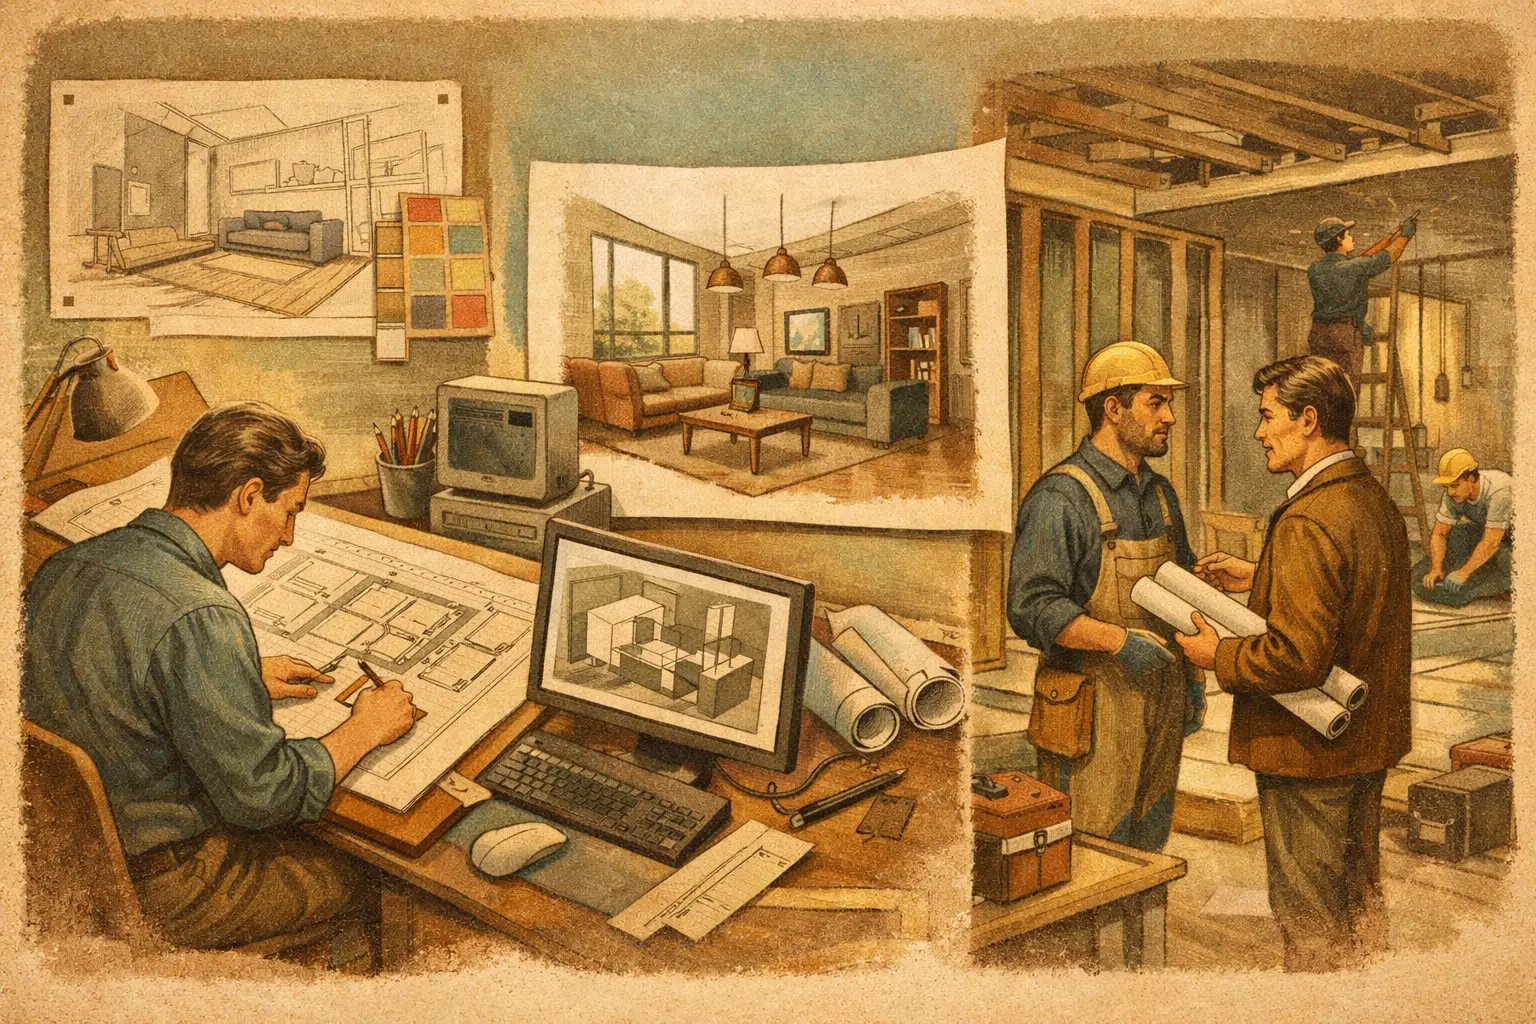
When a client asks whether the living room will take a three-seat sofa, a dining table and a circulation route — or when a contractor asks for a dimensioned drawing set — a mood board cannot stand in for professional communication. The value of software ability is not how many programs you can open. It is whether you can turn a design idea into project output that can be discussed, revised and built.
For anyone changing career, job hunting or taking commissions, the order in which you learn interior design software affects both efficiency and whether the portfolio carries professional weight. Learn rendering first and the images may look striking quickly, but they often lack accurate scale, sensible circulation and build logic. Build 2D planning first, then move through modelling, visualisation and technical documents, and you develop the working method the industry actually needs.
Why the order decides your starting point
An interior project is not one render. It is a chain of decisions: understand the brief, measure the space, arrange the plan, confirm materials, present the atmosphere, issue drawings, and keep everything consistent through revisions. Each package serves one link. Without the spatial judgement that comes first, later software skill easily becomes repetitive operation.
A common beginner mistake is installing CAD, SketchUp, 3ds Max, Revit, Photoshop and several render plugins at once, hoping to cover everything. The result is usually a little of each and no complete project from plan to presentation. For entry-level roles, employers and clients care whether you can solve the project problem clearly, not how long your software list is.
A more effective strategy follows the delivery sequence: first make the scheme stand up, then make the space visible, then make the output usable by a contractor and a client. That order suits homes, restaurants, offices and retail alike; only the depth required in the later tools changes with the role.
2D first, then 3D, then presentation
Stage one: space and drawing fundamentals
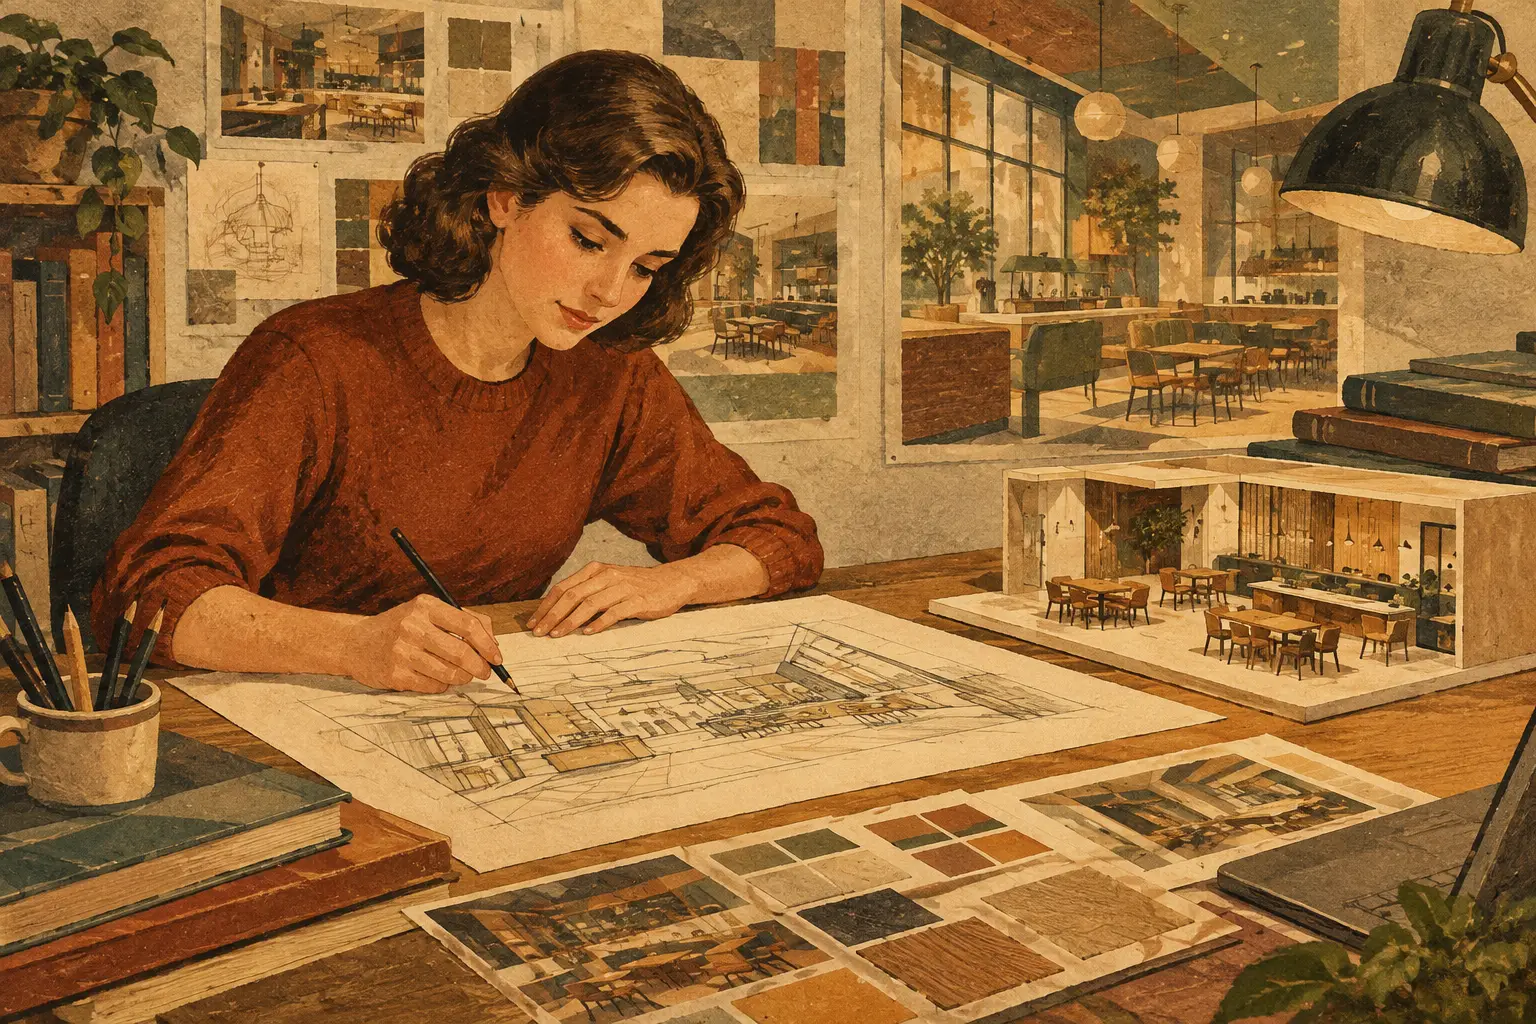
Before opening professional software, understand proportion, human scale, circulation, functional zoning, elevational relationships and material annotation. Hand sketches and simple plan exercises still have value, because they force you to think about why a layout is arranged that way instead of letting the software decide.
Then move to AutoCAD or an equivalent. The focus is not only walls, doors and dimensions but layer management, line types, annotation convention, furniture layout, ceiling plans and the basics of elevations and sections. 2D drawings are the shared language of interior design, and the most reliable basis for modelling later.
Complete a small residential layout at this stage. You should be able to explain the position of each zone, the main route widths, furniture scale and the storage logic. If a plan cannot yet carry the design intent, moving early into rendering only magnifies the problem.
Stage two: model to test the space, not to make shapes
Once the 2D scheme is stable, learn SketchUp, Rhino or another tool suited to interiors. For most beginners SketchUp is quicker to pick up, and suits establishing volume, bespoke furniture, joinery, wall treatments and basic materials. It lets you check ceiling height, sightlines, proportion and any sense of compression from a human viewpoint.
Do not chase complex geometry or high-detail decoration at first. Build a clean model of walls, openings, floors, ceilings and principal furniture, then develop the key junctions. Components, grouping, tags and sensible naming look basic but decide whether revisions are efficient. Professional projects change constantly, and a messy model slows you down fast.
After modelling, the 2D plan, the 3D model and the design statement should agree. Change a kitchen island dimension on the plan and the model, elevations and material schedule follow. That consistency demonstrates professionalism better than a single handsome image.
Stage three: rendering, to turn design logic into something a client reads
Enscape, V-Ray, Lumion and similar tools express material, light, atmosphere and experience. Which to choose depends on the work: real-time rendering is usually more efficient when you present and revise frequently; photorealistic rendering demands more time on lighting, material parameters and post-production if you need high-end commercial imagery.
Learning to render is not adding reflection to every surface. Practise the layers of daylight and artificial light, understand how timber, stone, metal and textile read under different conditions, then compose the view. Every image should answer a question: does it help the client understand the layout, the key material or the mood? If not, however refined, it is an exercise rather than project communication.
Stage four: construction output and coordination
If your goal is a design practice, commercial projects or long-term work with architects, Revit or another BIM tool is worth learning once 2D and 3D are stable. Its strength is the link between model and drawings, particularly on projects that repeatedly coordinate walls, openings, materials, furniture and drawing revisions.
But Revit is not everyone's first package. For small residential work, concept design or early freelance, the combination of CAD, modelling and rendering is often closer to daily need. For technical design, commercial space or larger team roles, BIM raises competitiveness noticeably. The point is not to follow a software trend but to match the tool to the work you plan to do.
Stage five: post-production and layout for delivery
Photoshop, Illustrator or InDesign usually come last. They adjust images, build material boards, lay out proposals and assemble a portfolio. By then you have real project content for them to work on, rather than using them to dress up an empty scheme.
A persuasive portfolio is more than renders. It carries the brief, the spatial analysis, the plan development, key elevations or junctions, material selection and the final visuals. Employers want your route of judgement; clients want to know whether you can turn an idea into something executable.
Use complete projects, not scattered tutorials
After each stage, return to the same project. Start with a one-bedroom home: read the user's needs, complete assumed survey information and zoning, draw the plan and elevations, build the model, produce two or three key views, then assemble a material board and a short proposal.
Make the second project a small commercial space — a café, a boutique or a shared workspace. Commercial forces you to think about brand tone, footfall, service circulation, durable materials and lighting layers. Having both in the portfolio shows adaptability far more clearly.
The project-based training at Renoox Academy places software learning inside a real design process for this reason. Software is not an isolated course but the tool used to complete residential and commercial tasks. Guided revisions, drawing checks and project presentations help learners find their own weaknesses and build delivery habits that match hiring standards.
Three traps that slow progress
The first is mistaking software ability for design ability. A package can duplicate furniture and materials quickly; it cannot solve insufficient storage, conflicting circulation or an unrealistic budget. Confirm the core decisions in plan before modelling.
The second is skipping technical drawings. Renders win attention, but dimensions, materials, junctions and drawing coordination decide whether a scheme leaves the screen. Even if you prefer visual work, be able to read and produce basic construction drawings.
The third is following fragmented tutorials only. A tutorial solves a specific function; it cannot replace complete project training. Set your own delivery standard and deadline, and go through revision, trade-off and review — that is the most realistic part of professional design work.
There is no single correct software path, but there is a reliable principle: let every new tool solve a real problem in your current project. Draw one plan accurately, make the space hold up in three dimensions, then use imagery to persuade the client and drawings to support the build. Once you can complete that loop independently, interest becomes practical ability for a career in interior design.