 Renoox
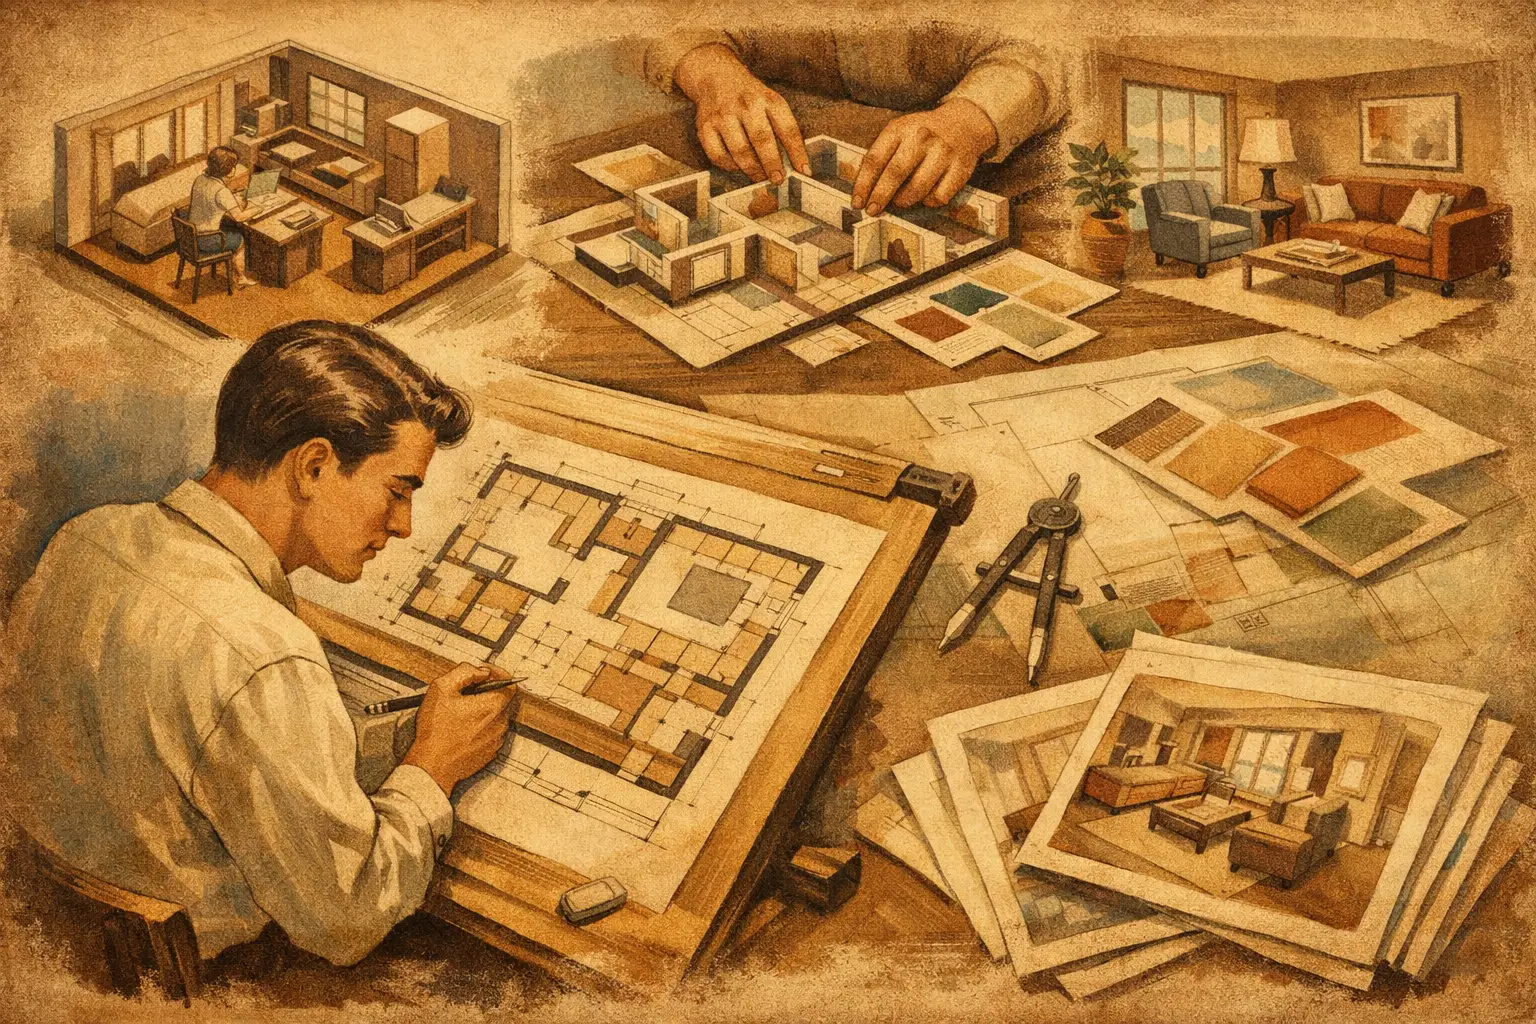
A floor plan looks like nothing more than wall lines, doors, windows and furniture symbols. In practice it decides whether a space is usable, whether it can be built, and whether the client will trust your professional judgement. For anyone preparing to enter the interior design industry, the key to how to learn 2D floor plan layout is not drawing beautifully at first. It is building a working method that leads from site information to a scheme that can be executed.
Many beginners open the drafting software and immediately start copying the sofa, dining table and display cabinet from a reference case. That kind of practice gives a brief sense of achievement but rarely holds up in a real project. A professional designer's plan layout has to respond at the same time to how people use the space, the building conditions, dimensional limits, the budget direction and construction feasibility. The goal of learning is for every line to have a reason.
First understand what a 2D plan layout actually solves
A 2D plan layout is not "putting the furniture in". It translates spatial needs into clear functional relationships: how you enter, where storage goes, whether cooking, eating, resting and working interfere with one another, whether private areas are protected, and whether someone with limited mobility can move through smoothly.
Take a two-bedroom apartment where the owner asks for "more storage and a home-office spot". That does not mean simply adding cabinets along a wall and a desk in the living room. You need to judge whether the existing walls allow change, where the daylight comes from, whether the desk will sit in the main circulation route, whether the bedroom wardrobe doors will block passage when open, and whether the added storage will make the space feel oppressive. That process of judgement is the core value of plan layout.
Learning should therefore advance around three abilities: reading a space accurately, organising functions sensibly, and expressing the scheme clearly to industry standards. Software is the tool; the ability to make spatial decisions is what makes you competitive.
How to learn 2D plan layout: train along the project process
Start with the survey and the existing plan
Without reliable existing data, even the most creative layout cannot be built. At the beginning, practise the logic of measuring: wall lengths, ceiling height, beam and column positions, door and window openings, cill heights, water and drainage points, the distribution board and the existing equipment. Even if you cannot yet get onto a real site, use a complete floor plan to simulate a survey and build the habit of annotating and cross-checking.
Then draw the existing plan. The drawing needs more than wall lines: it should show clearly the door swings, the window positions, the fixed structure and the equipment that cannot easily be moved. Many layouts fail not for lack of concept but because they ignored a door clash, a pipe position or the size of a structural column. Draw the constraints accurately first, and you will know what the scheme can genuinely change.
Do the functional zoning next, not the furniture
Once the existing plan is done, use simple colour blocks or outlines to divide public, private, service and storage zones. At this stage you do not need to decide on specific furniture; you need to answer the priorities between functions. An open kitchen strengthens family interaction, for instance, but fume control, storage capacity and worktop length have to be assessed at the same time; converting the living room into a combined office and reception space is flexible, but may reduce relaxation and comfort for guests.
The point of zoning practice is comparison, not chasing the first answer. For the same apartment, complete at least two or three layout directions: a conservative renovation, a storage-first scheme and a scheme that emphasises socialising. Put them side by side and you will see the trade-offs each decision brings much more clearly, and you will practise explaining to a client why you recommend one of them.
Use circulation to check whether the layout really works
Circulation is what takes a plan from "looks reasonable" to "works comfortably day to day". Starting from the front door, simulate the whole sequence of the owner coming home with shopping bags, cooking, doing laundry, getting up at night, receiving friends, cleaning and putting things away. For each movement, check whether the route detours, whether it forces people to turn sideways, and whether doors clash with other doors or with furniture.
Shorter circulation is not automatically better. A dining room next to the kitchen is usually more efficient, but if the table sits hard against the passage and family members disturb every meal as they walk past, that is not a good scheme either. Open-plan spaces in particular need a balance between visual openness and passage width. While learning, mark the main routes on the plan with arrows and write down the specific activity each one serves. That forces you to review the layout from the user's point of view.
Turn dimensional standards into a judgement tool
Dimensions are the bottom line of plan layout. Corridor widths, the space behind dining chairs, kitchen work zones, the swing of bathroom doors, passage beside the bed and cabinet door clearances all need to respect basic ergonomic principles. Memorising numbers is of limited use; it is more effective to understand the action each dimension corresponds to.
The space in front of a wardrobe, for example, is not just "leave a gap". It has to accommodate opening the doors, standing, taking clothes in and out, and turning round. The distance either side of a kitchen island has to consider whether two people working at once will block each other. Standards are not absolute, and a small apartment may have to compromise, but a professional designer must know what has been sacrificed and whether that sacrifice matches the client's real needs.
Build a personal dimension library, organised by living room, dining room, kitchen, bedroom, bathroom and office, recording common furniture sizes, clearances and installation conditions. After each project exercise, add the mistakes you ran into and how you corrected them. Over time it becomes a professional asset far more reliable than simply being able to draw.
Software practice should serve the drawing's expression
When learning AutoCAD or another 2D drafting tool, do not set the goal as "finish all the commands as fast as possible". Interior floor plans rely most on layer management, precise drawing, modify commands, blocks, dimensioning, text, hatching and print output. What is genuinely worth practising over and over is how to make a drawing clear, consistent and easy to collaborate on.
A competent set of plans has a clear layer logic. Existing walls, walls to be demolished, new walls, furniture, dimensions, text and equipment should not be mixed on one layer; line weights should reflect the hierarchy of information; furniture symbols, door and window swings and dimension annotation should stay consistent. A client reading the drawing needs to grasp the scheme quickly, and the site team needs precise instructions. A messy sheet directly undermines the credibility of the scheme.
A common beginner mistake is chasing complex effects too early. For a job-seeking portfolio, a furniture plan with rigorous logic, accurate dimensions and clear annotation usually says more about your ability than a richly decorated drawing that cannot be built.
Use real projects to set a professional rhythm of practice
The most effective way to learn is to make the complete project, not the isolated command, your unit of practice. Start with a small one-bedroom apartment, then move on to a two-bedroom renovation, a café, a retail unit or a small office. Residential projects train everyday scenarios and storage logic; commercial projects put more weight on customer flow, functional efficiency, brand experience and regulatory limits. Both kinds of experience are valuable.
For every project, keep the original conditions, the client brief, the plan iterations, the final scheme and your own review. Do not save only the final drawing. Hiring managers and clients are usually more interested in seeing how you found the problem, compared options and made a choice, which proves your project thinking far better than a single polished drawing.
Practice without feedback makes it easy to repeat bad habits: cluttered dimensioning, ignoring structural conditions, or moving functional zones with no circulation reasoning. The value of a structured course lies in having tutors with project experience check the logic of your drawings, and in staged assignments that keep learners completing projects that can go into a portfolio. The technical drafting, space planning and applied project training Renoox Academy emphasises correspond precisely to the bridge needed from interest to professional practice.
How to tell you are ready for the next stage
When you can complete the existing plan, the demolition and construction plan, the furniture layout and the dimensioned plan on your own, and explain the reason for every layout decision as you present it, you can begin extending the 2D scheme into elevations, ceilings, materials and 3D visualisation. The order here cannot be reversed. If the plan has not been verified, the more polished the renderings that follow, the higher the cost of rework.
You should also be able to spot risks in the scheme yourself: does the entrance lack somewhere to drop things and store them, does the bathroom create an awkward sightline, is there enough room beside the bed to change the bedding, will the waiting area of a commercial space block the main corridor? Not all of these have perfect answers, but being able to raise the question and explain the trade-off is already the beginning of professional judgement.
Next time you face a blank floor plan, put the furniture library aside and first write down ten real actions that will happen in the space. You will find that a good 2D plan layout was never decoration to be drawn. It is a clear arrangement made for how people live and work.