 Renoox
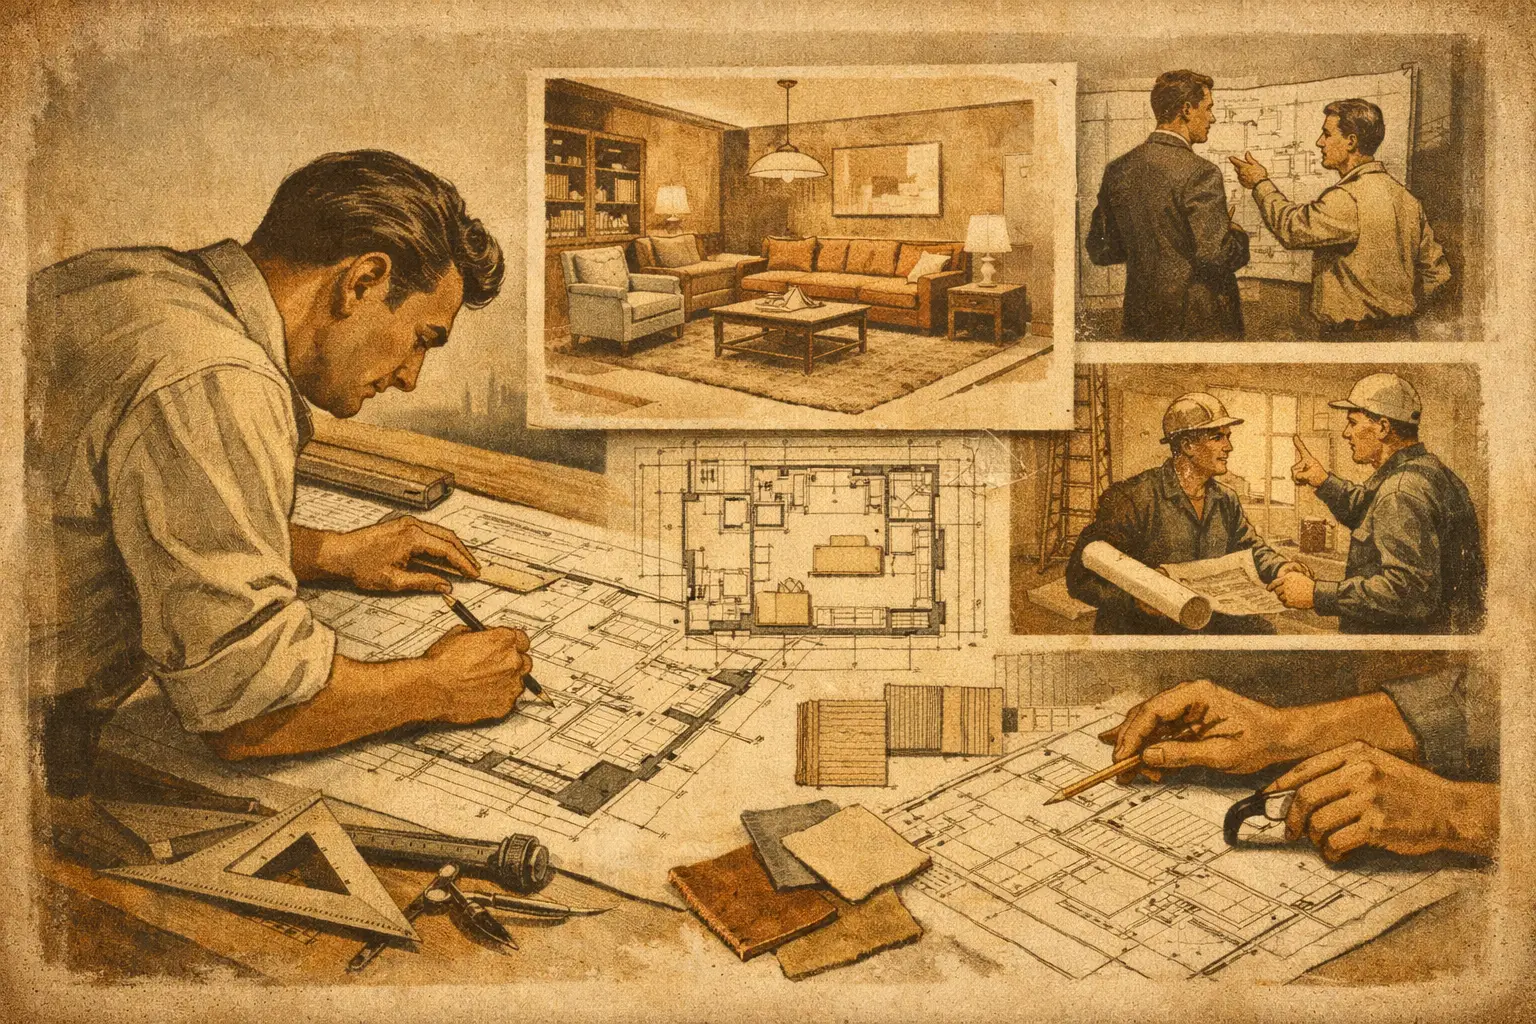
When a client says "put a run of cabinets here", what really decides whether the project can be built is not the atmosphere in the rendering. It is how long that wall actually is, how high the beam soffit is, how far the socket sits above the floor, and how much passage is left once the door is open. Learning how to draw interior design dimension drawings is the key step from an interest in design to professional project ability. A dimension drawing is not simply numbers written onto a plan. It is the technical language shared by the designer, the client, the construction team and the suppliers.
Why the dimension drawing decides whether a design can be built
A good dimension drawing answers three questions: what the existing space is, where the design boundaries lie, and how the work should be carried out on site. A plan layout can express furniture and functional zoning, but the dimension drawing has to go further and define the walls, doors and windows, column positions, beam positions, equipment points and the critical clearances. Without that information, even a beautiful scheme is easily distorted at quotation, ordering or construction stage.
For a professional designer, the dimension drawing also bears directly on budget and risk control. A small deviation in a bespoke cabinet can mean reworking material; an unclear kitchen appliance position can leave the plumbing and electrics unable to match the cabinetry; a commercial space without accurate escape-route widths runs into trouble at approval and in operation. Dimensioning is not an appendix to drafting. It is part of professional responsibility.
How to draw a dimension drawing: start with re-measuring on site
The starting point of a dimension drawing is always the site, not the software. On the first survey, fix a stable reference direction first: start at the entrance door, say, and record each wall face in turn, clockwise. Measure the total length of every wall, and at the same time record the distances from the corners to door openings, window openings, columns, flues, beams and fixed equipment.
Do not record just one overall figure per wall. The professional practice is to build a "dimension chain": break a wall into consecutive dimensions, from corner to door opening, the door opening width, door opening to window opening, the window opening width, and window opening to the far corner. The sum of the segments should check against the overall wall length. If the two differ noticeably, do not correct by feel; go back to the site and re-measure.
Besides horizontal dimensions, record the vertical information. Floor-to-ceiling height, beam soffit height, cill height, window head height, and the levels of air-conditioning outlets, distribution boards, sockets, water supply and drainage points and extract outlets all affect the ceiling, the cabinetry and the equipment design. In renovations, pay particular attention to the original wall thicknesses, the structure that cannot be removed and the positions of services, so that you do not make promises at scheme stage that cannot be carried out.
Produce a reliable existing plan
Once the site data is collected, draw the existing plan first, also called the as-existing or survey drawing. Do not rush to add decorative concepts to this drawing; it should reflect the space faithfully as it is. The wall outline, door and window swings, columns and beams, the bathroom drainage points, the kitchen gas point and the main services equipment should all be located accurately first.
Use millimetres as the unit throughout and keep it consistent across the whole project. Residential projects commonly use 1:50; bathrooms and kitchens, with their smaller areas and denser detail, can use 1:25. Scale is not a fixed rule. What matters is that once the drawing is printed or exported, the dimensions, text and symbols are still clearly legible.
When the existing plan is finished, check the room diagonals or the key axes. Many older buildings are not true rectangles and walls may be out of square. If you draw a "square" plan from two adjacent wall lengths alone, the flooring, cabinetry and glazed partitions that follow will all carry errors. For an irregular space, adding diagonal dimensions is usually far more effective than repeated guessing.
What the design dimension drawing should annotate
Once the design scheme is fixed, the dimension drawing has to shift from "recording the existing" to "directing the construction". Normally you annotate finished dimensions, meaning the actual controlling distances once the finishes, wall tiles, timber veneer or stone are in place. If the project involves demolition and alteration, distinguish clearly between existing walls, walls to be removed and new walls, so that the site team cannot misread them.
A useful dimensioned plan should let the reader see at least these five kinds of information clearly:
- The overall outline of the space, wall thicknesses and the main axis dimensions
- Door and window opening sizes, door swing directions and the critical clear widths for passage
- The positioning dimensions of new partitions, cabinetry, islands, sanitaryware and fixed furniture
- The relationship between the structure and the plumbing, electrical, air-conditioning, gas and extract equipment
- The finished surfaces, levels, material thicknesses or section references in the key areas
Not every number has to be squeezed onto the same sheet. Overly dense information reduces construction efficiency just as much. The more mature practice is to layer the drawings: the furniture plan expresses function, the dimension drawing expresses position, the ceiling plan expresses the suspended ceiling and light fittings, and the elevations express the wall surfaces and cabinet details. That keeps each sheet clear and lets each trade find what it needs quickly.
The order of dimension lines determines how fast the drawing reads
Dimension lines are usually arranged from inside to outside. The line nearest the wall carries the detail dimensions: doors, windows, columns, local components. The second line carries the positioning relationships between segments, and the outermost line carries the overall dimensions. Keep the orientation of the dimension text as consistent as possible, and avoid crossing, obscuring or overlapping the furniture symbols.
Distinguish carefully between "positioning dimensions" and "finished-product dimensions". A 600 mm deep off-the-shelf cabinet, for instance, may not be able to sit hard against the wall if a services void has to be left behind it; the position of a shower screen in a bathroom has to be judged against the tiled finish and the fall to the floor drain. Every dimension on the drawing should make clear what it controls; otherwise the construction team will complete the same item according to different readings.
For high-density areas such as kitchens, bathrooms and commercial reception counters, a plan alone is usually not enough. Add elevations, details or enlarged partial drawings to define worktop heights, socket heights, the position of LED strips, the clearance for cabinet doors and the installation conditions for equipment. The number of drawings increases, but the cost of verbal confirmation on site and rework falls markedly.
Draw with software, but do not let the software judge for you
CAD, SketchUp, Revit and other drafting tools raise efficiency, but they do not automatically guarantee that a drawing is correct. It is well worth establishing a layer standard, with separate layers for walls, dimensions, furniture, text, demolition, new work and equipment, along with consistent line weights, text heights, dimension styles and title-block information. Drawings like that are easier to collaborate on and better suited to a portfolio.
When moving from the 2D plan into 3D modelling, be wary of a model that "looks reasonable" but does not agree with the dimension drawing. Use the checked 2D drawing as the basis of the model, and go back to verify the key junctions. For doors and windows, ceilings, cabinetry and services equipment in particular, the 3D model should confirm the clear heights, door-swing clashes and passage widths, not replace the construction dimensions.
The four mistakes beginners make most often
First, measuring only the length and width of the room and ignoring beams, columns, wall thicknesses and equipment points. Second, annotating only local figures with no overall dimension, so nothing can be checked. Third, failing to update the dimension drawing after repeated scheme changes, so the rendering, the quotation and the construction drawings all differ. Fourth, treating furniture dimensions as fixed facts and ignoring the brand and model, installation allowances and site tolerances.
Avoiding these is not complicated. After every change to a wall or a fixed piece of furniture, update the dimension chain first. Before issuing, do a "reverse read": imagine you are a site worker entering the project for the first time and check whether you could set everything out from the drawings alone. Verify the critical dimensions on site rather than trusting old drawings or the building management's records completely.
From classroom exercise to professional project ability
The value of dimension drawing training is that it develops design thinking that can be verified. A beginner can start with a single bedroom or a small apartment, completing the site measurement, existing plan, furniture layout, dimensioning and partial elevations, and then move on to more complex projects such as kitchens, retail units and offices. After each exercise, keep the survey sketches, the revision record and the final drawings; that process material shows your ability to solve problems.
Renoox Academy's professional interior design training emphasises turning design concepts into outcomes that can be executed. For anyone hoping to change career or enter the industry, being able to complete a logically clear set of dimension drawings on your own proves your readiness for employment far better than a collage of styles. Clients need creativity; teams need, even more, a designer who can land that creativity accurately.
Next time you pick up a tape measure or open your drafting software, ask yourself first: could this drawing let an unfamiliar site worker complete the job without guessing? As the answer moves closer and closer to "yes", your design ability has moved from an idea to professional value the market genuinely recognises.