 Renoox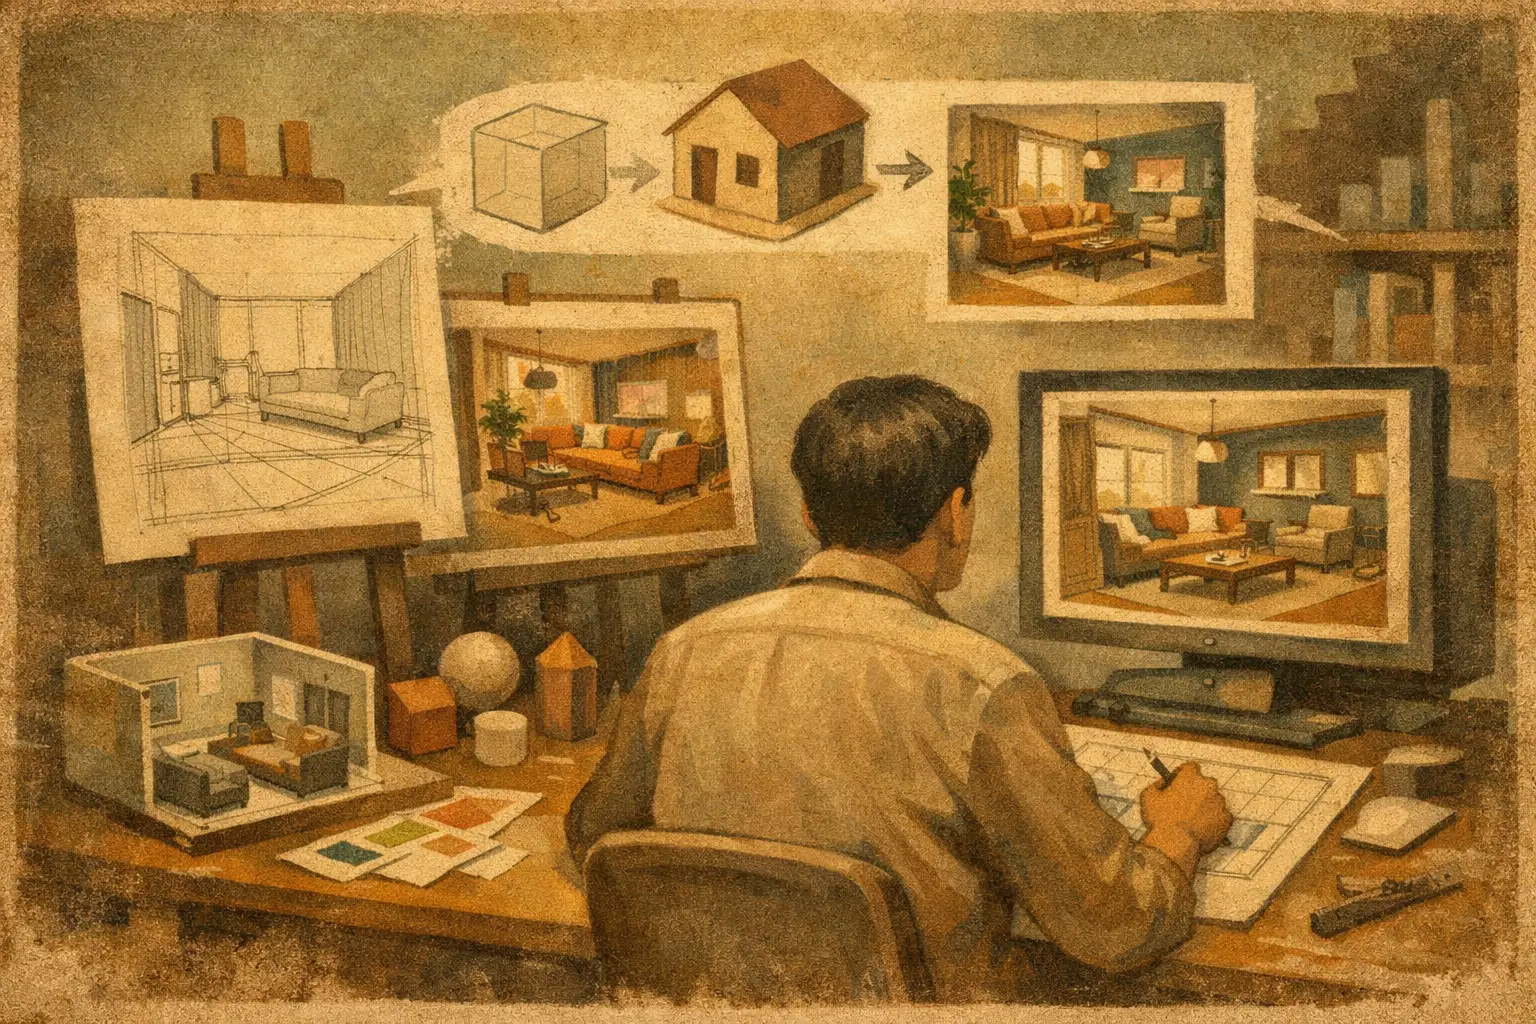
When a client sees a living room render with natural light, believable materials and clear circulation, they are not only looking at a picture. They are deciding whether the future space can be trusted. For beginners heading into interior design, the key to 3D rendering was never memorising software buttons first. It is building an ability that serves the scheme, the project conversation and the portfolio.
An interior render is how a designer turns plans, material choices and a way of living into something a client can read. It speeds up decisions, and it lets contractors, suppliers and the designer talk about the same intent. If the goal is a job or a commission, learn from the professional workflow rather than copying an attractive image found online.
Rendering is not simply a software skill
Many beginners start by hunting for the fastest rendering tutorial, end up able to build a single object, and still cannot complete a residential or commercial space independently. The reason is that an effective render contains planning, scale control, material logic, lighting atmosphere and visual communication all at once. The software only presents those decisions.
A better starting point is to read a complete set of design information: the plan, the elevational relationships, the ceiling scheme, furniture dimensions and material direction. Even on a small exercise, ask professional questions. Where does the eye land at the entrance? Is the main activity zone legible? Do the cupboard doors open sensibly? Why is that light fitting in that position? Those judgements decide whether the model is believable.
Learn in the order a project runs
Build the skeleton in two dimensions first
Finish an accurate 2D plan before moving into 3D. A common beginner problem is modelling and re-planning at the same time, until walls, furniture and dimensions no longer correspond. It is far more efficient to fix the boundaries, openings, wall thicknesses, ceiling heights and principal furniture sizes, then take that information into three dimensions.
Do not chase detail early. Use blocks to confirm proportion: is the distance between sofa and coffee table comfortable, is there circulation width around the dining table, does the kitchen run follow the sequence of use? A grey model with correct proportions and clear structure is worth more professionally than a scene full of props at the wrong scale.
Choose software according to your goal
The choice depends on your target, your hardware and where you expect to work. SketchUp suits fast spatial thinking and concept communication; 3ds Max is widely used for detailed modelling and high-quality visualisation; Revit fits projects that need coordinated building information and technical drawings. The renderer might be V-Ray, Corona or a real-time engine.
You do not need all of them at once. For a beginner it is more practical to settle on one stable combination: one modeller for space and furniture, one renderer to understand material and light, and an image editor for final adjustment. More software does not mean more ability. Delivering a complete scheme reliably within a set time is what counts professionally.
Make materials behave like the real world
Material is not colouring the model. Timber flooring has a laying direction and a grain scale; stone has veining continuity and varying reflectance; metal picks up the colours around it; fabric needs roughness and fold to read as soft. Learn to observe real materials rather than relying on default parameters.
A useful exercise is to take four common materials — timber, stone, glass and textile — and test colour, reflection, roughness and texture scale for each under the same light. If the wood grain reads like wallpaper, or the glass looks like a grey mirror, the renderer is usually not the problem. The material scale and reflection logic are.
Use light to explain the space, not to impress
Lighting in an interior render should first explain the space. Start a daytime scene from the daylight outside, watching direction, shadow softness and the gradient from bright to dark; a night scene needs ambient, accent and atmospheric layers kept distinct. Turn every light to full and the image loses depth — and stops resembling how the room is actually used.
Lighting takes patience. Complete one living room using daylight only, then add the fittings, then try dusk or night. Change one variable at a time: curtain transmission, lamp colour temperature, exposure. That is how you learn where a change came from, instead of guessing among parameters.
The camera decides how a client reads the design
Wider is not better. An extreme wide angle fits more in but stretches furniture proportions and makes a room look unreal. Camera height should match human experience: living rooms are usually read seated or standing, while kitchens and bathrooms need a viewpoint tied to the action being performed.
A project usually needs several types of view working together. An overall view explains layout and character, a close view emphasises material and detail, and a functional view shows storage, circulation or how a commercial space is used. Every image should have a task, rather than repeating the same feature wall from three angles.
Turn exercises into portfolio projects
A professional portfolio does not need a dozen scattered exercises. For a beginner, two logically complete projects usually persuade more than a large number of single renders. Start with a small apartment and a small commercial space, so the work covers different user needs, planning and atmosphere.
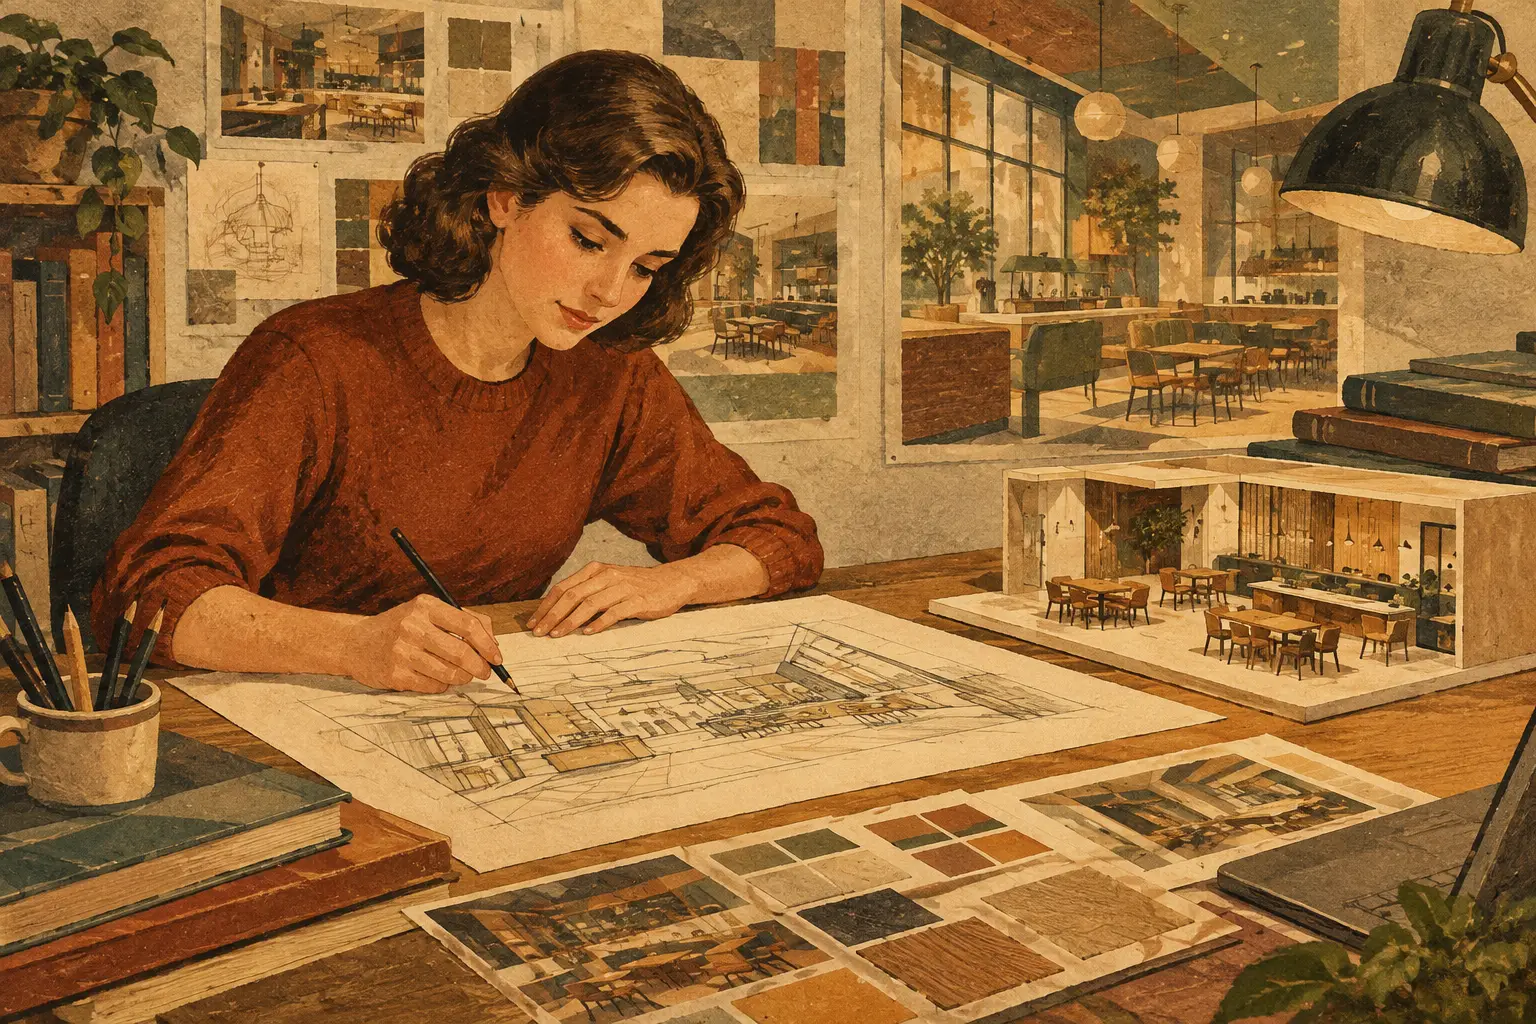
Keep the route from concept to result for each: mood board, plan, key elevations, material selection, 3D views and a design statement. Then an employer or client sees more than your rendering output — they can judge whether you can analyse a need, organise a space and communicate a scheme.
In a practice-based setting such as Renoox Academy, rendering training runs alongside planning, technical drawing and portfolio development. The industry does not need people who can only operate software; it needs juniors who can express design intent completely and place it inside a project workflow.
Three traps to avoid early
The first is chasing photorealism too soon. While layout, proportion and material logic are still immature, hours spent reducing render noise will not improve the scheme. The second is downloading large numbers of ready-made models without understanding their size, style or buildability. The third is reproducing a reference image without explaining your own choices, leaving the work without judgement.
References are valuable, but treat them as objects of analysis. Look at how they handle dominant and secondary colour, lighting emphasis, furniture scale and focal point, then apply the principle to your own plan. What raises your professional standing is the judgement you show across different layouts and needs.
Complete a first full project at a steady pace
Allow four to six weeks for a first project. Spend the early part on research, planning and base modelling, the middle on principal materials and daylight, and the later part on lighting, camera and image adjustment. Do not wait for a perfect model before test-rendering — early images reveal problems with proportion, sightlines and spatial depth much faster.
Record every change: why the sofa size altered, why the pendant was dimmed, why the camera moved. Those notes gradually become your method, and let you explain the reason behind each decision in an interview, a presentation or a client meeting.
Your first render does not have to amaze anyone. It should honestly reflect what you understand about the space, the materials and the people using it. Once you can consistently develop a plan into a coherent, atmospheric and buildable visual scheme, 3D stops being a software exercise and becomes the language you use to move into interior design professionally.